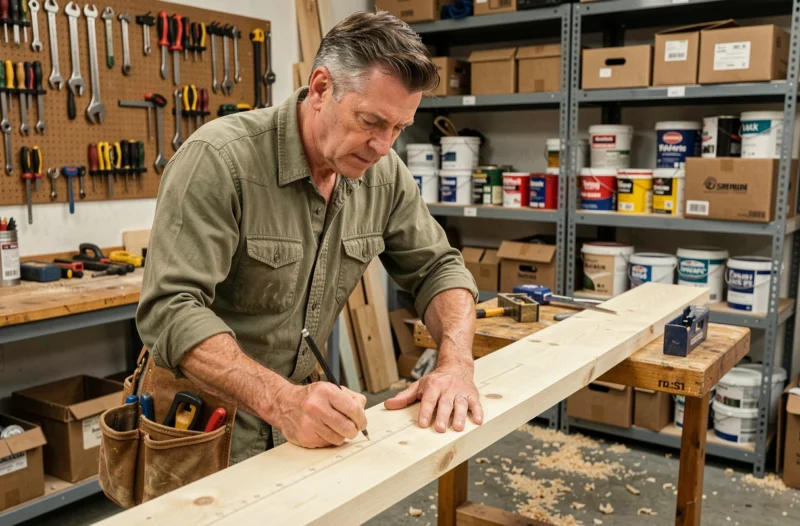
A dripping faucet, a shelf to fix, a room to repaint: these small home projects seem simple, but they can quickly turn into a headache without a method. Successfully completing DIY tasks at home relies less on manual skill than on a few concrete reflexes, often overlooked by traditional guides.
Check the safety of equipment before starting a project
Have you ever pulled an old drill out of the garage thinking it would do the job? This reflex can pose a real safety issue. A frayed cable, a deformed plug, or a recalled device represent real electrical risks.
Since December 13, 2024, the European regulation on general product safety requires sellers and marketplaces to inform identifiable buyers directly in case of a recall. The public site RappelConso also relays European alerts. Before plugging in a tool that has been stored for a long time, check its reference on this portal.
The principle is simple: never plug in a device with a damaged cable or plug. If the model is on a recall list, it should no longer be used, even for a quick test. This check takes two minutes and prevents serious household accidents.
To deepen your knowledge of the gestures and techniques suitable for each type of project, a useful resource: https://conseils-bricolage.fr/, which details numerous concrete situations.
Reusing materials in DIY: prepare before removing
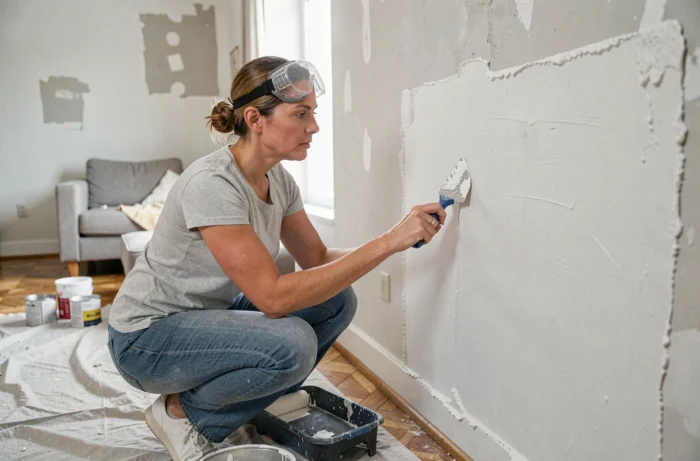
The trend of reuse is gaining ground in home DIY. Recovering parquet boards, bricks, or carpentry elements for a new project reduces waste and material costs. But this approach should not be improvised at the end of a project.
Cerema recommends identifying and characterizing materials before removal, not after. Specifically, this means observing the condition of each element, identifying fastenings, and deciding in advance where and how to store them. A formwork board hastily ripped off will split. The same board, unscrewed cleanly and stored flat, remains usable.
Let’s take a common example: you are dismantling a wooden partition to enlarge a room. If you plan to reuse the battens, start by removing the nails one by one with a claw hammer, then sort the pieces by length. This preliminary sorting step saves time on the next project.
Storage and inspection of recovered materials
A reused material must be inspected with the same care as a new material. Check for the absence of mold on wood, deep cracks on ceramics, and penetrating rust on metal. Reuse does not exempt from quality control.
Store recovered items in a dry and ventilated place. Stacking them at the back of a damp garage negates all the benefits of the approach.
Choosing your DIY tools based on the project, not the price
The classic mistake is to buy the cheapest kit or, conversely, the most high-performance professional tool. Both approaches miss the real criterion: the suitability between the tool and the specific task to be performed.
A cordless drill-screwdriver is sufficient for fixing shelves or assembling furniture. Drilling concrete to install a blind requires a hammer drill. These are two different tools, and using one instead of the other yields poor results or damages the material.
Before buying, ask yourself: what material will I be working with? The answer guides you to the right tool and the right accessories (wood drills, metal drills, concrete bits).
- For softwood (fir, pine): a hand saw or a jigsaw with a fine-toothed blade is suitable for clean cuts.
- For tiling: a manual tile cutter is sufficient for straight cuts, but angled cuts require a grinder with a diamond disc.
- For common plumbing: an adjustable wrench, Teflon tape, and a pipe cutter cover most interventions on accessible fittings.
Maintaining your tools to make them last
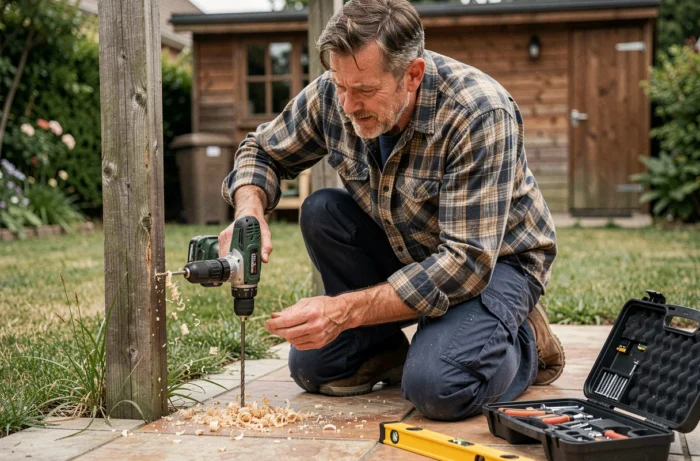
A screwdriver with a rounded tip slips off the screw and damages the head. A poorly maintained tool causes more errors than a lack of technique. Clean the blades after each use, oil the moving parts, and store sharp tools in cases.
Screwdriver bits wear out quickly. Keep a spare set in your toolbox: a new bit transmits all the force to the right place without slipping.
Managing construction waste at home
Even a small home project produces waste: wood scraps, material packaging, leftover paint, rubble. Many DIYers pile everything into a single trash bag, complicating disposal later.
Free waste collection is not automatic. Some DIY stores offer collection for certain types of waste (batteries, light bulbs, paints), but rubble or treated wood follow different channels. Check with your local waste disposal center before starting.
- Separate inert waste (rubble, broken tiles) from hazardous waste (paints, solvents, glues).
- Keep untreated wood scraps: they can be used as wedges, templates, or test supports for tool adjustments.
- Cardboard and plastic packaging from new materials go into regular recycling, not into the rubble bin.
Sorting waste from the start of the project prevents ending up with an undifferentiated pile that no channel accepts as is. Plan two or three separate containers even before the first cut.
The success of a DIY project relies as much on preparation as on execution. Checking your equipment, anticipating reuse, choosing the right tool, and managing waste from the outset transforms a stressful project into a controlled intervention. The technical gesture comes later, with practice.